iOS 变化 三
5.3 固体对象
现在你懂得了在3D空间的一些图层布局的基础,我们来试着创建一个固态的3D对象(实际上是一个技术上所谓的空洞对象,但它以固态呈现)。我们用六个独立的视图来构建一个立方体的各个面。
在这个例子中,我们用Interface Builder来构建立方体的面(图5.19),我们当然可以用代码来写,但是用Interface Builder的好处是可以方便的在每一个面上添加子视图。记住这些面仅仅是包含视图和控件的普通的用户界面元素,它们完全是我们界面交互的部分,并且当把它折成一个立方体之后也不会改变这个性质。
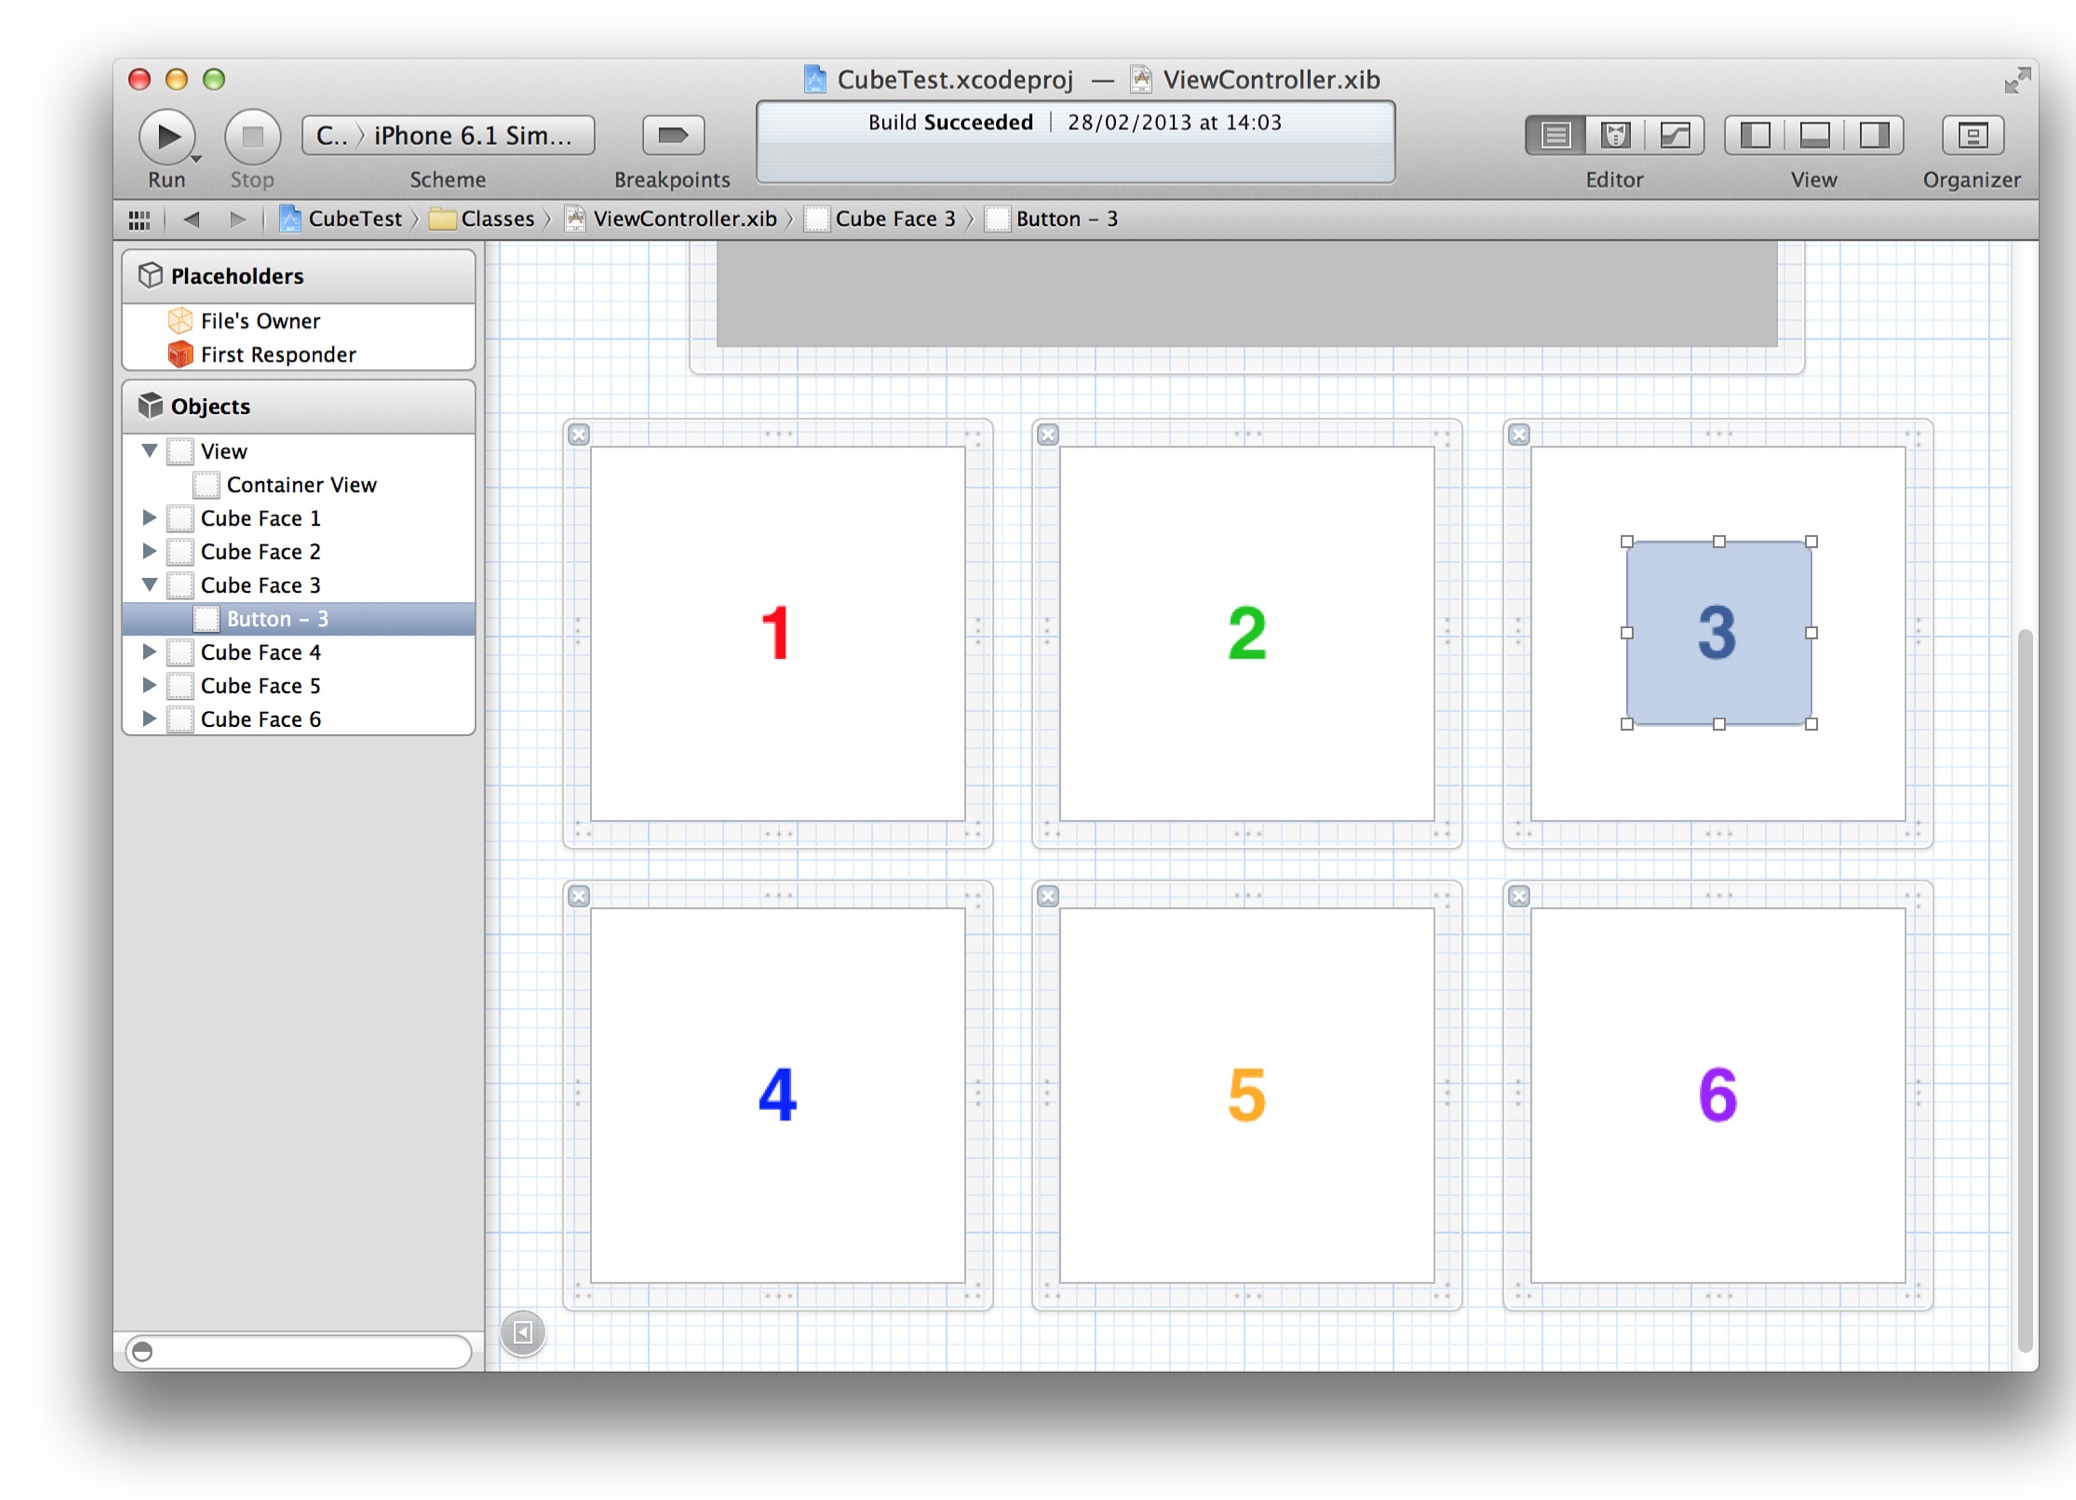
图5.19 用Interface Builder对立方体的六个面进行布局
这些面视图并没有放置在主视图当中,而是松散地排列在根nib文件里面。我们并不关心在这个容器中如何摆放它们的位置,因为后续将会用图层的transform对它们进行重新布局,并且用Interface Builder在容器视图之外摆放他们可以让我们容易看清楚它们的内容,如果把它们一个叠着一个都塞进主视图,将会变得很难看。
我们把一个有颜色的UILabel放置在视图内部,是为了清楚的辨别它们之间的关系,并且UIButton被放置在第三个面视图里面,后面会做简单的解释。
具体把视图组织成立方体的代码见清单5.9,结果见图5.20
清单5.9 创建一个立方体
@interface ViewController ()


@property (nonatomic, weak) IBOutlet UIView *containerView;

@property (nonatomic, strong) IBOutletCollection(UIView) NSArray *faces;


@end


@implementation ViewController


- (void)addFace:(NSInteger)index withTransform:(CATransform3D)transform

{

    //get the face view and add it to the container

    UIView *face = self.faces[index];

    [self.containerView addSubview:face];

    //center the face view within the container

    CGSize containerSize = self.containerView.bounds.size;

    face.center = CGPointMake(containerSize.width / 2.0, containerSize.height / 2.0);

    // apply the transform

    face.layer.transform = transform;

}


- (void)viewDidLoad

{

    [super viewDidLoad];

    //set up the container sublayer transform

    CATransform3D perspective = CATransform3DIdentity;

    perspective.m34 = -1.0 / 500.0;

    self.containerView.layer.sublayerTransform = perspective;

    //add cube face 1

    CATransform3D transform = CATransform3DMakeTranslation(0, 0, 100);

    [self addFace:0 withTransform:transform];

    //add cube face 2

    transform = CATransform3DMakeTranslation(100, 0, 0);

    transform = CATransform3DRotate(transform, M_PI_2, 0, 1, 0);

    [self addFace:1 withTransform:transform];

    //add cube face 3

    transform = CATransform3DMakeTranslation(0, -100, 0);

    transform = CATransform3DRotate(transform, M_PI_2, 1, 0, 0);

    [self addFace:2 withTransform:transform];

    //add cube face 4

    transform = CATransform3DMakeTranslation(0, 100, 0);

    transform = CATransform3DRotate(transform, -M_PI_2, 1, 0, 0);

    [self addFace:3 withTransform:transform];

    //add cube face 5

    transform = CATransform3DMakeTranslation(-100, 0, 0);

    transform = CATransform3DRotate(transform, -M_PI_2, 0, 1, 0);

    [self addFace:4 withTransform:transform];

    //add cube face 6

    transform = CATransform3DMakeTranslation(0, 0, -100);

    transform = CATransform3DRotate(transform, M_PI, 0, 1, 0);

    [self addFace:5 withTransform:transform];

}


@end
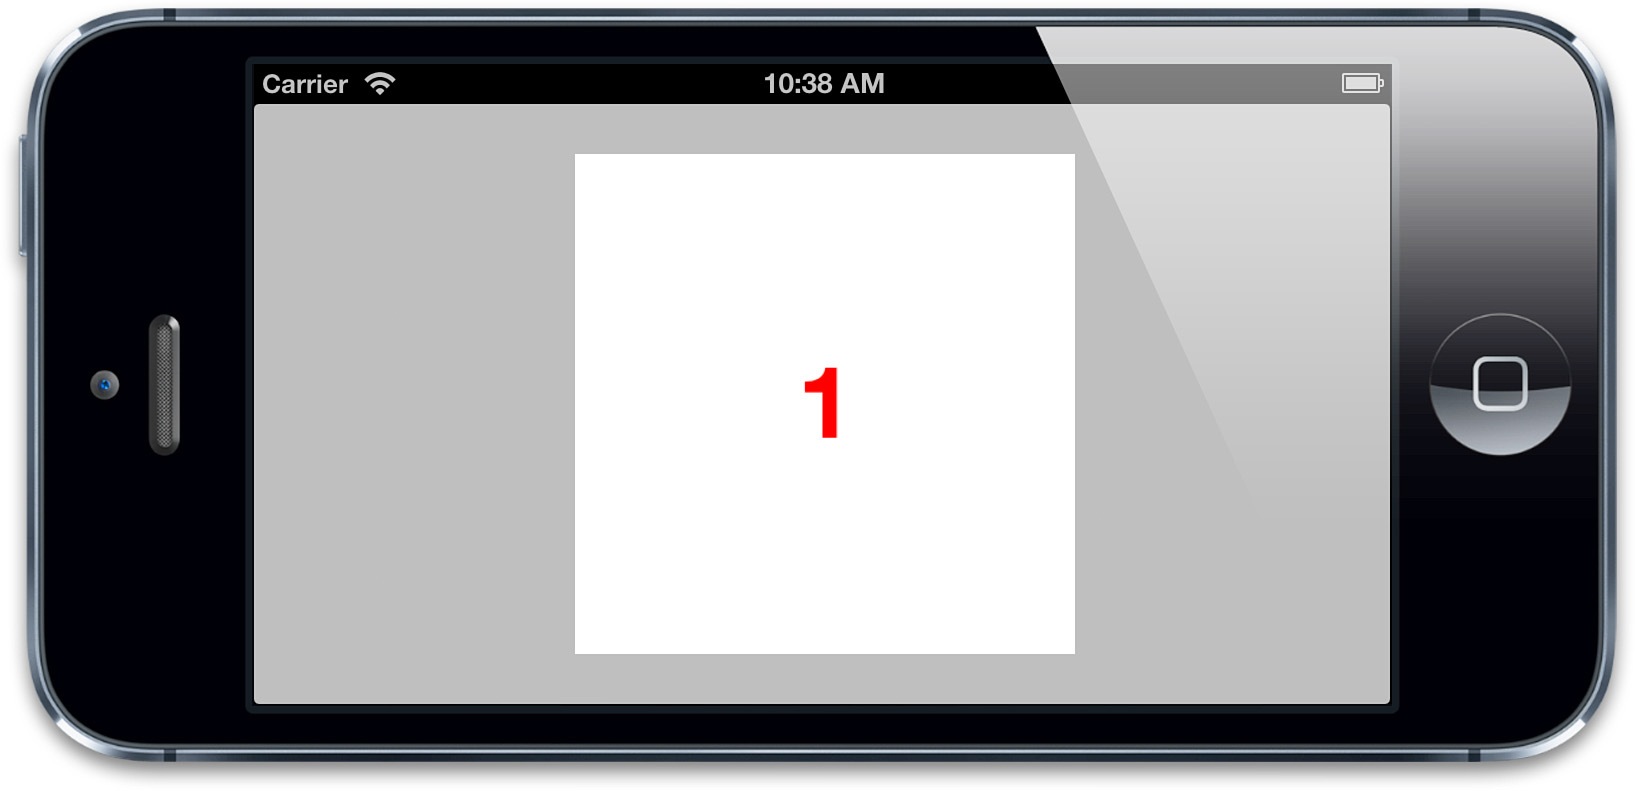
图5.20 正面朝上的立方体
从这个角度看立方体并不是很明显;看起来只是一个方块,为了更好地欣赏它,我们将更换一个不同的视角。
旋转这个立方体将会显得很笨重,因为我们要单独对每个面做旋转。另一个简单的方案是通过调整容器视图的sublayerTransform去旋转照相机。
添加如下几行去旋转containerView图层的perspective变换矩阵:
perspective = CATransform3DRotate(perspective, -M_PI_4, 1, 0, 0);

perspective = CATransform3DRotate(perspective, -M_PI_4, 0, 1, 0);
这就对相机(或者相对相机的整个场景,你也可以这么认为)绕Y轴旋转45度,并且绕X轴旋转45度。现在从另一个角度去观察立方体,就能看出它的真实面貌(图5.21)。
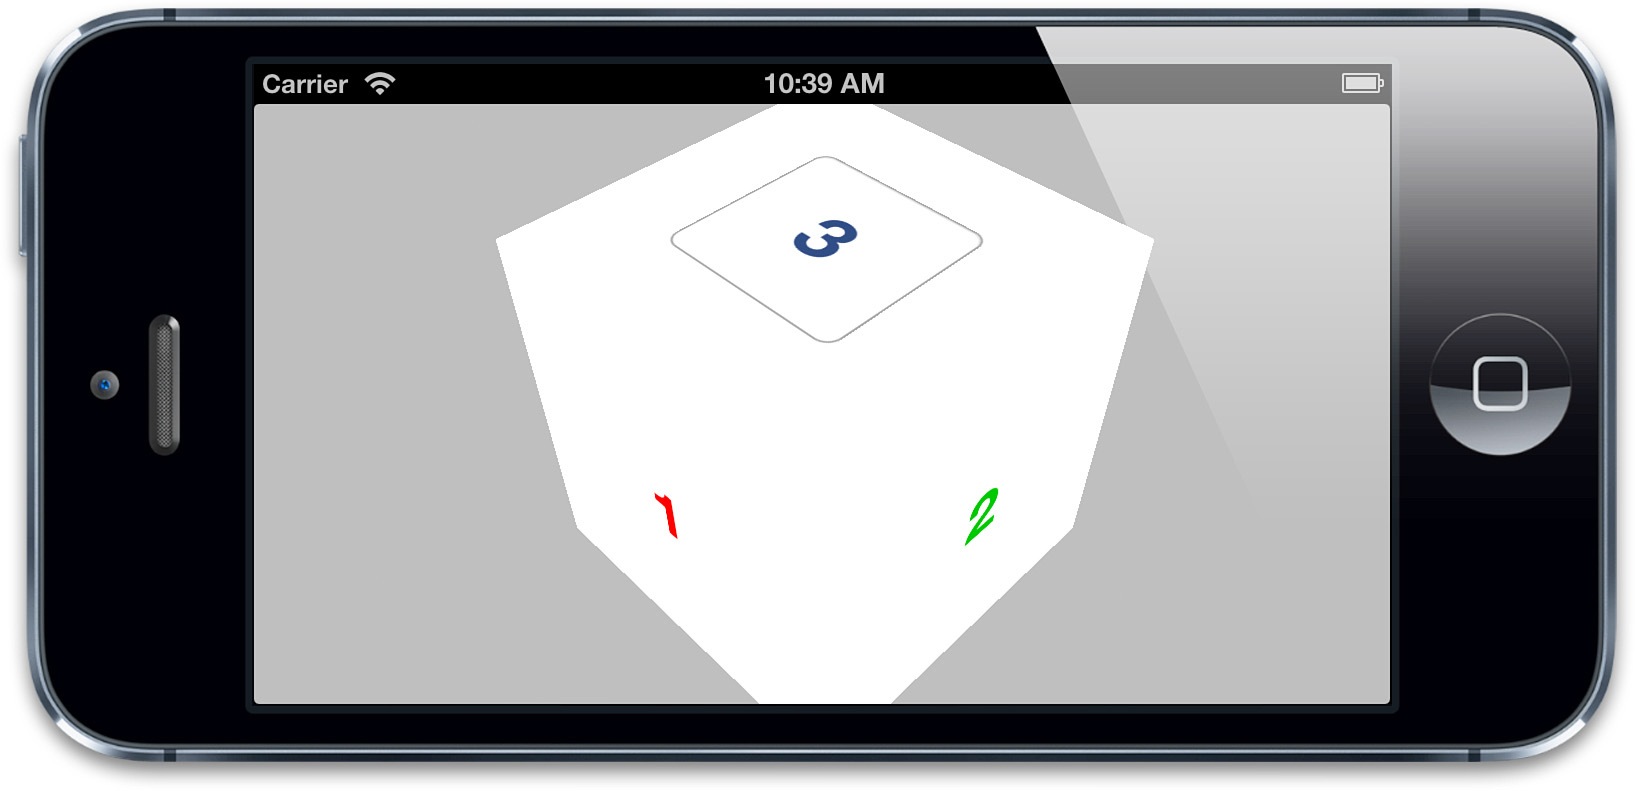
图5.21 从一个边角观察的立方体
光亮和阴影
现在它看起来更像是一个立方体没错了,但是对每个面之间的连接还是很难分辨。Core Animation可以用3D显示图层,但是它对光线并没有概念。如果想让立方体看起来更加真实,需要自己做一个阴影效果。你可以通过改变每个面的背景颜色或者直接用带光亮效果的图片来调整。
如果需要动态地创建光线效果,你可以根据每个视图的方向应用不同的alpha值做出半透明的阴影图层,但为了计算阴影图层的不透明度,你需要得到每个面的正太向量(垂直于表面的向量),然后根据一个想象的光源计算出两个向量叉乘结果。叉乘代表了光源和图层之间的角度,从而决定了它有多大程度上的光亮。
清单5.10实现了这样一个结果,我们用GLKit框架来做向量的计算(你需要引入GLKit库来运行代码),每个面的CATransform3D都被转换成GLKMatrix4,然后通过GLKMatrix4GetMatrix3函数得出一个3×3的旋转矩阵。这个旋转矩阵指定了图层的方向,然后可以用它来得到正太向量的值。
结果如图5.22所示,试着调整LIGHT_DIRECTION和AMBIENT_LIGHT的值来切换光线效果
清单5.10 对立方体的表面应用动态的光线效果
#import "ViewController.h"

#import

#import


#define LIGHT_DIRECTION 0, 1, -0.5

#define AMBIENT_LIGHT 0.5


@interface ViewController ()


@property (nonatomic, weak) IBOutlet UIView *containerView;

@property (nonatomic, strong) IBOutletCollection(UIView) NSArray *faces;


@end


@implementation ViewController


- (void)applyLightingToFace:(CALayer *)face

{

    //add lighting layer

    CALayer *layer = [CALayer layer];

    layer.frame = face.bounds;

    [face addSublayer:layer];

    //convert the face transform to matrix

    //(GLKMatrix4 has the same structure as CATransform3D)

    //译者注:GLKMatrix4和CATransform3D内存结构一致,但坐标类型有长度区别,所以理论上应该做一次float到CGFloat的转换,感谢[@zihuyishi](https://github.com/zihuyishi)同学~

    CATransform3D transform = face.transform;

    GLKMatrix4 matrix4 = *(GLKMatrix4 *)&transform;

    GLKMatrix3 matrix3 = GLKMatrix4GetMatrix3(matrix4);

    //get face normal

    GLKVector3 normal = GLKVector3Make(0, 0, 1);

    normal = GLKMatrix3MultiplyVector3(matrix3, normal);

    normal = GLKVector3Normalize(normal);

    //get dot product with light direction

    GLKVector3 light = GLKVector3Normalize(GLKVector3Make(LIGHT_DIRECTION));

    float dotProduct = GLKVector3DotProduct(light, normal);

    //set lighting layer opacity

    CGFloat shadow = 1 + dotProduct - AMBIENT_LIGHT;

    UIColor *color = [UIColor colorWithWhite:0 alpha:shadow];

    layer.backgroundColor = color.CGColor;

}


- (void)addFace:(NSInteger)index withTransform:(CATransform3D)transform

{

    //get the face view and add it to the container

    UIView *face = self.faces[index];

    [self.containerView addSubview:face];

    //center the face view within the container

    CGSize containerSize = self.containerView.bounds.size;

    face.center = CGPointMake(containerSize.width / 2.0, containerSize.height / 2.0);

    // apply the transform

    face.layer.transform = transform;

    //apply lighting

    [self applyLightingToFace:face.layer];

}


- (void)viewDidLoad

{

    [super viewDidLoad];

    //set up the container sublayer transform

    CATransform3D perspective = CATransform3DIdentity;

    perspective.m34 = -1.0 / 500.0;

    perspective = CATransform3DRotate(perspective, -M_PI_4, 1, 0, 0);

    perspective = CATransform3DRotate(perspective, -M_PI_4, 0, 1, 0);

    self.containerView.layer.sublayerTransform = perspective;

    //add cube face 1

    CATransform3D transform = CATransform3DMakeTranslation(0, 0, 100);

    [self addFace:0 withTransform:transform];

    //add cube face 2

    transform = CATransform3DMakeTranslation(100, 0, 0);

    transform = CATransform3DRotate(transform, M_PI_2, 0, 1, 0);

    [self addFace:1 withTransform:transform];

    //add cube face 3

    transform = CATransform3DMakeTranslation(0, -100, 0);

    transform = CATransform3DRotate(transform, M_PI_2, 1, 0, 0);

    [self addFace:2 withTransform:transform];

    //add cube face 4

    transform = CATransform3DMakeTranslation(0, 100, 0);

    transform = CATransform3DRotate(transform, -M_PI_2, 1, 0, 0);

    [self addFace:3 withTransform:transform];

    //add cube face 5

    transform = CATransform3DMakeTranslation(-100, 0, 0);

    transform = CATransform3DRotate(transform, -M_PI_2, 0, 1, 0);

    [self addFace:4 withTransform:transform];

    //add cube face 6

    transform = CATransform3DMakeTranslation(0, 0, -100);

    transform = CATransform3DRotate(transform, M_PI, 0, 1, 0);

    [self addFace:5 withTransform:transform];

}


@end
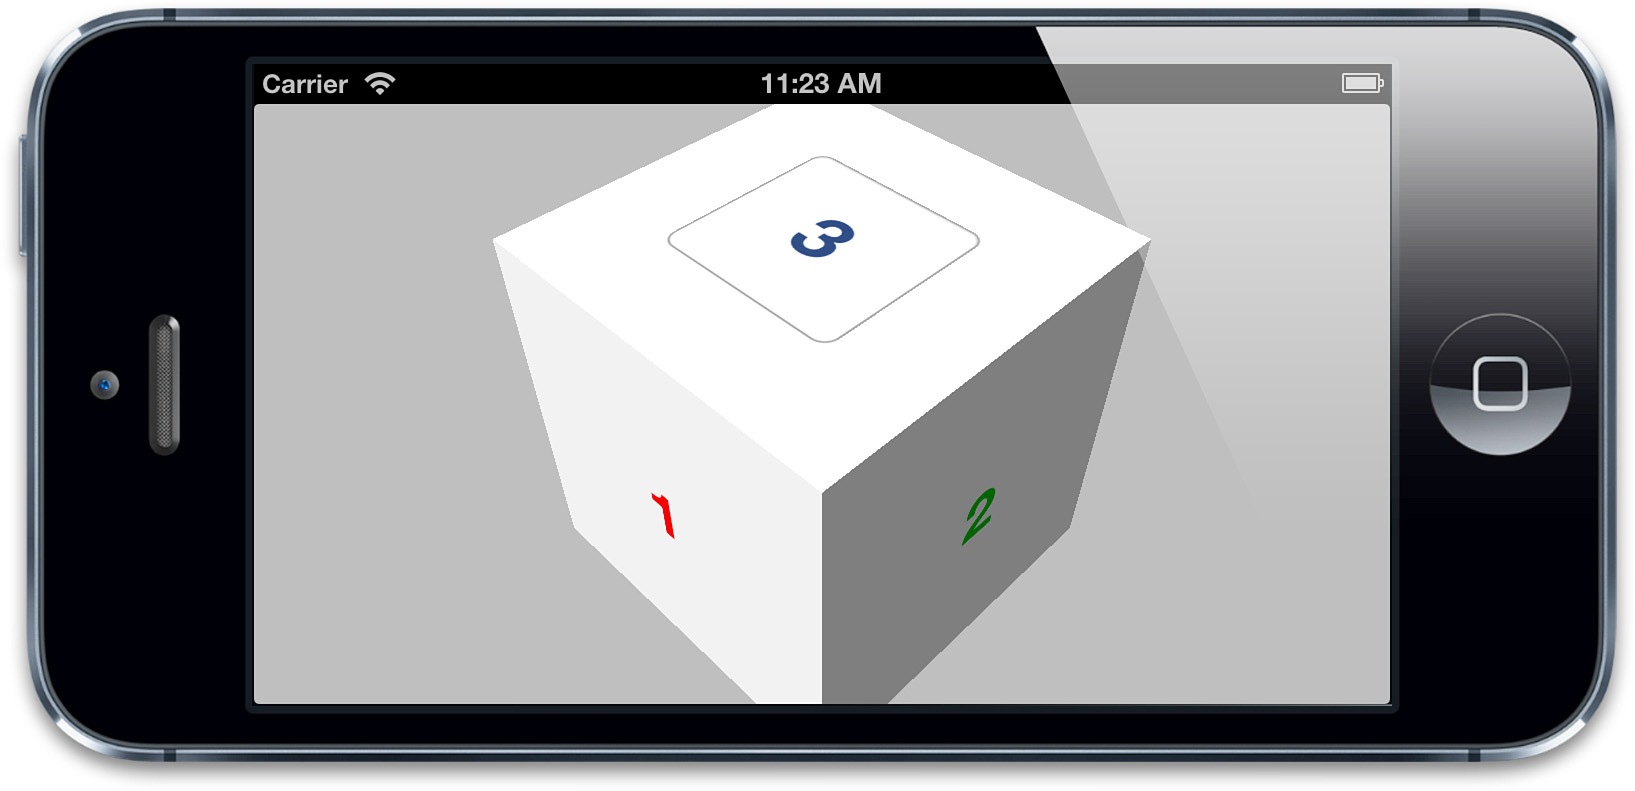
图5.22 动态计算光线效果之后的立方体
点击事件
你应该能注意到现在可以在第三个表面的顶部看见按钮了,点击它,什么都没发生,为什么呢?
这并不是因为iOS在3D场景下正确地处理响应事件,实际上是可以做到的。问题在于视图顺序。在第三章中我们简要提到过,点击事件的处理由视图在父视图中的顺序决定的,并不是3D空间中的Z轴顺序。当给立方体添加视图的时候,我们实际上是按照一个顺序添加,所以按照视图/图层顺序来说,4,5,6在3的前面。
即使我们看不见4,5,6的表面(因为被1,2,3遮住了),iOS在事件响应上仍然保持之前的顺序。当试图点击表面3上的按钮,表面4,5,6截断了点击事件(取决于点击的位置),这就和普通的2D布局在按钮上覆盖物体一样。
你也许认为把doubleSided设置成NO可以解决这个问题,因为它不再渲染视图后面的内容,但实际上并不起作用。因为背对相机而隐藏的视图仍然会响应点击事件(这和通过设置hidden属性或者设置alpha为0而隐藏的视图不同,那两种方式将不会响应事件)。所以即使禁止了双面渲染仍然不能解决这个问题(虽然由于性能问题,还是需要把它设置成NO)。
这里有几种正确的方案:把除了表面3的其他视图userInteractionEnabled属性都设置成NO来禁止事件传递。或者简单通过代码把视图3覆盖在视图6上。无论怎样都可以点击按钮了(图5.23)。
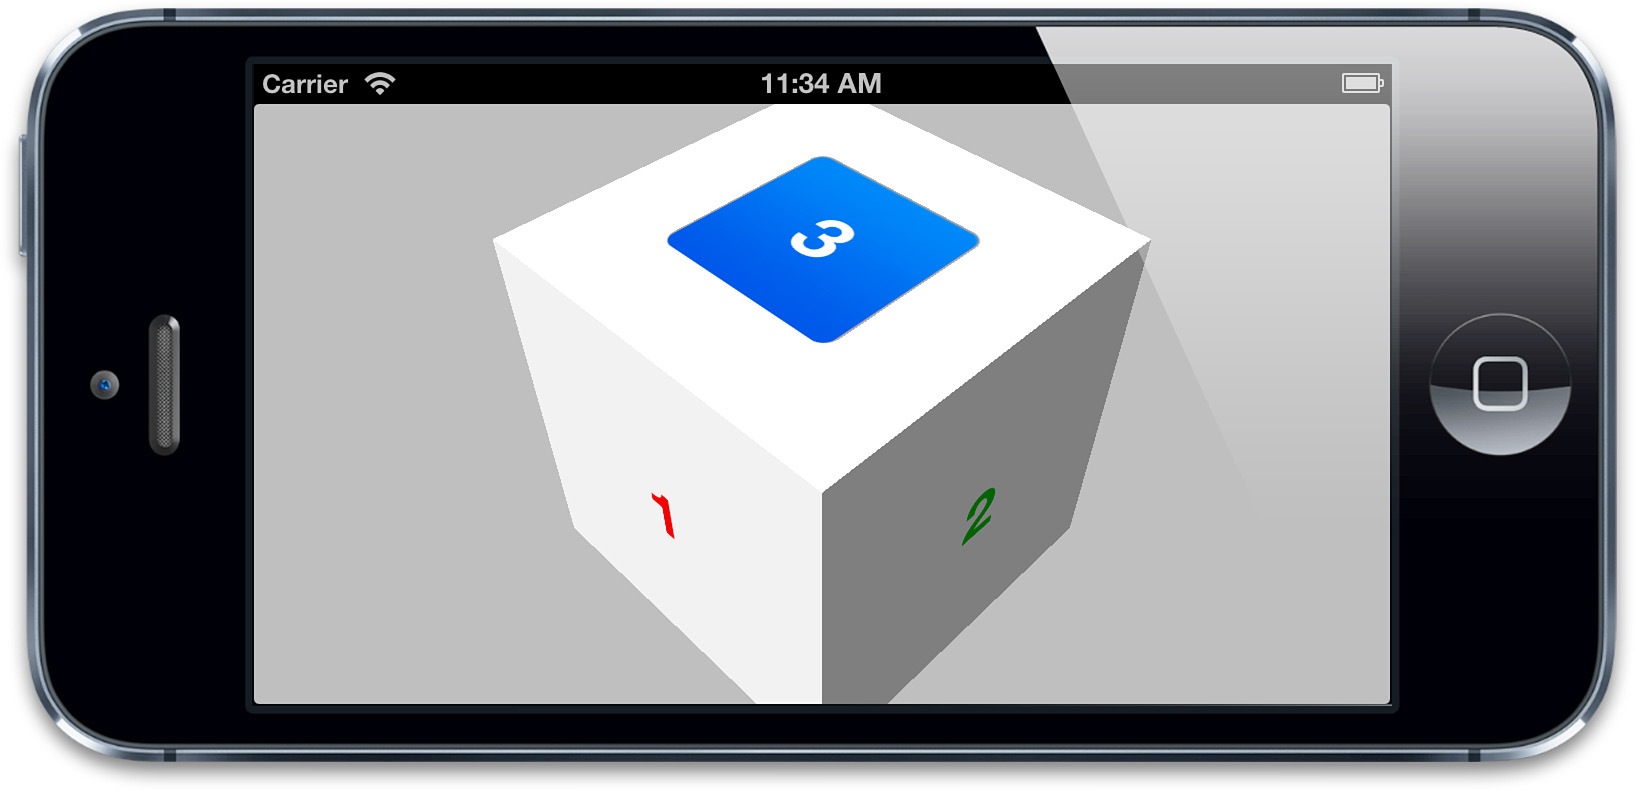
图5.23 背景视图不再阻碍按钮,我们可以点击它了
总结
这一章涉及了一些2D和3D的变换。你学习了一些矩阵计算的基础,以及如何用Core Animation创建3D场景。你看到了图层背后到底是如何呈现的,并且知道了不能把扁平的图片做成真实的立体效果,最后我们用demo说明了触摸事件的处理,视图中图层添加的层级顺序会比屏幕上显示的顺序更有意义。
第六章我们会研究一些Core Animation提供不同功能的具体的CALayer子类。
