iOS Hook原理 - 反hook& MonkeyDev
一、 反 hook 初探
我们Hook别人的代码一般使用OC的MethodSwizzle,如果我们用fishhook将MethodSwizzle hook了,别人是不是就hook不了我们的代码了?
1.1 创建主工程 AntiHookDemo
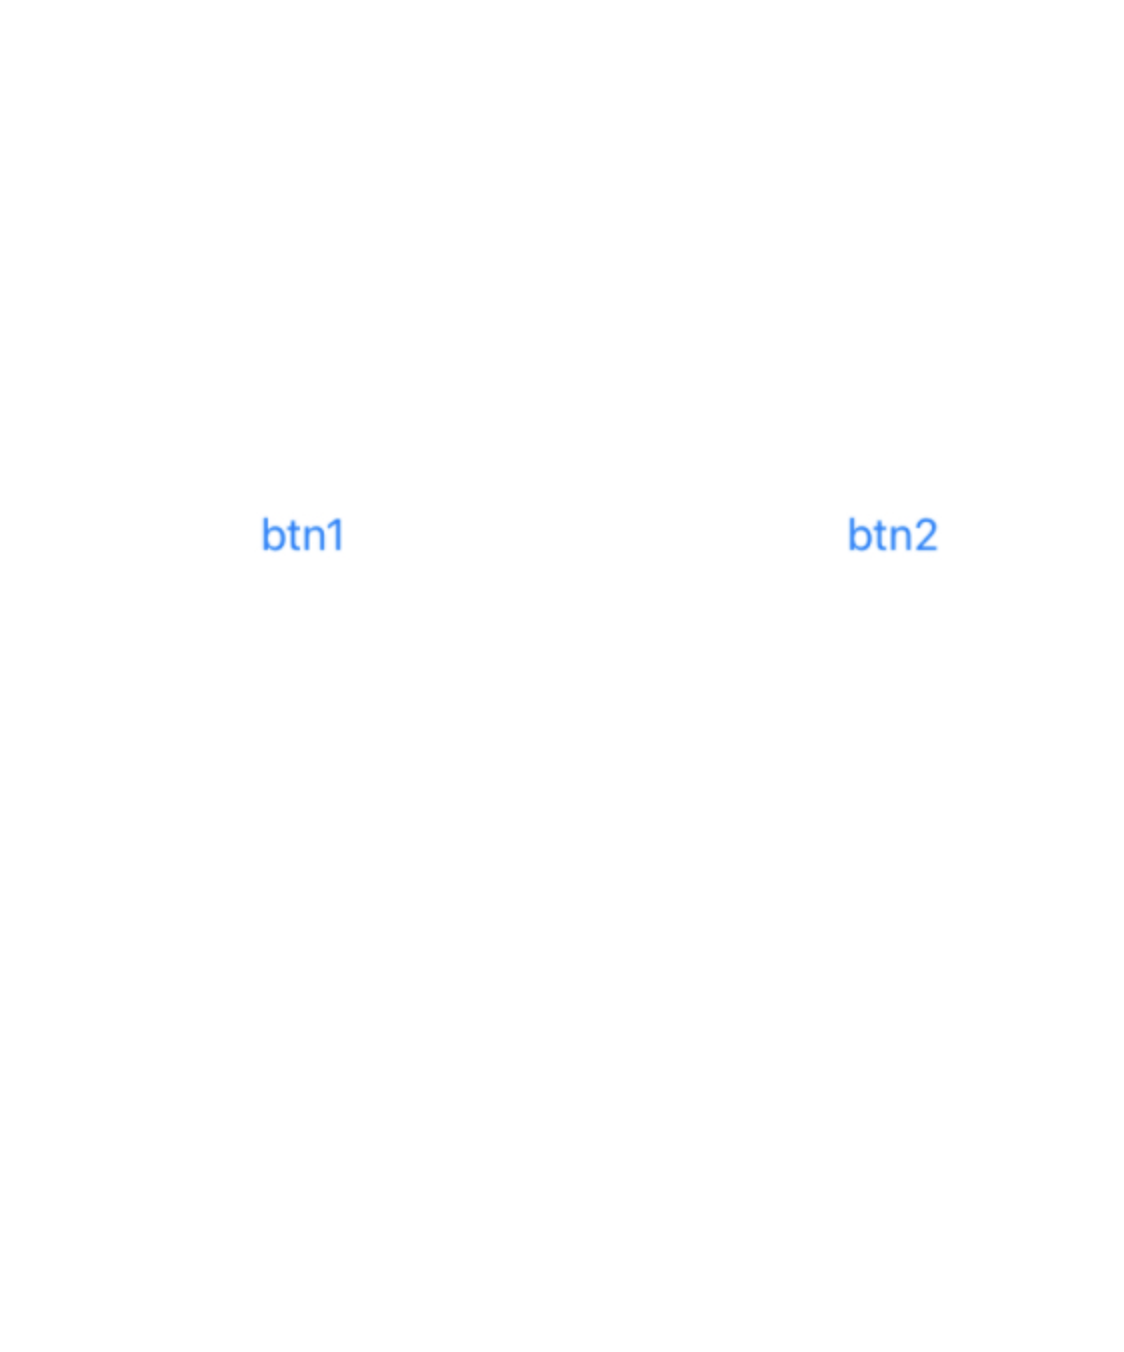
创建一个工程AntiHookDemo,页面中有两个按钮btn1和btn2:
- (IBAction)btn1Click:(id)sender {
NSLog(@"click btn1");

}

- (IBAction)btn2Click:(id)sender {
NSLog(@"click btn2");

}
1.2 创建防护 HookManager (FrameWork 动态库)
这个时候要使用fishhook防护,在FrameWork中写防护代码。基于两点:
Framework在主工程+ load执行之前执行+ load。- 别人注入的
Framework也在防护代码之后。
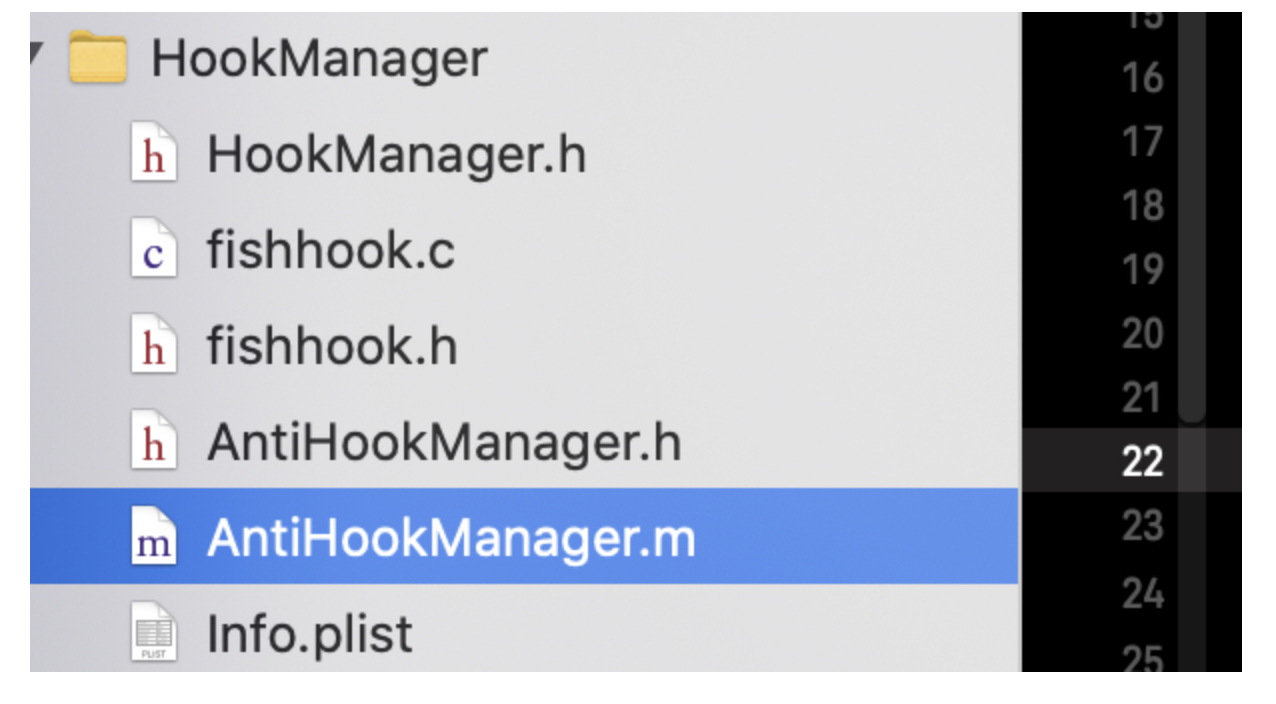
创建一个HookManager Framework,文件结构下:
AntiHookManager.h:
#import <Foundation/Foundation.h>
#import <objc/message.h>

//暴露给外界使用

CF_EXPORT void (*exchange_p)(Method _Nonnull m1, Method _Nonnull m2);

@interface AntiHookManager : NSObject

@endAntiHookManager.m:
#import "AntiHookManager.h"
#import "fishhook.h"

@implementation AntiHookManager

+ (void)load {
//基本防护
struct rebinding exchange;

    exchange.name = "method_exchangeImplementations";

    exchange.replacement = hp_exchange;

    exchange.replaced = (void *)&exchange_p;
struct rebinding bds[] = {exchange};
rebind_symbols(bds, 1);

}


//指回原方法
void (*exchange_p)(Method _Nonnull m1, Method _Nonnull m2);

void hp_exchange(Method _Nonnull m1, Method _Nonnull m2) {
//可以在这里进行上报后端等操作
NSLog(@"find  Hook");

}

@endHookManager.h中导出头文件:
#import <HookManager/AntiHookManager.h>然后将AntiHookManager.h放入public Headers:
修改主工程的ViewController.m如下:
#import <HookManager/HookManager.h>

@interface ViewController ()

@end

@implementation ViewController

- (void)viewDidLoad {

    [super viewDidLoad];
exchange_p(class_getInstanceMethod(self.class, @selector(btn2Click:)),class_getInstanceMethod(self.class, @selector(test)));

}

- (void)test {
NSLog(@"self Hook Success");

}

- (IBAction)btn1Click:(id)sender {
NSLog(@"click btn1");

}

- (IBAction)btn2Click:(id)sender {
NSLog(@"click btn2");

}

@end在工程中Hook自己的方法,这个时候运行主工程:
AntiHookDemo[1432:149145] click btn1

AntiHookDemo[1432:149145] self Hook Successbtn2能够被自己正常Hook。
1.3 创建注入工程 HookDemo
- 在根目录创建
APP文件夹以及Payload文件夹,拷贝AntiHookDemo.app到APP/Payload目录,压缩zip -ry AntiHookDemo.ipa Payload/生成.ipa文件。 - 拷贝
appResign.sh重签名脚本以及yololib注入工具到根目录。 - 创建
HPHook注入Framework。
HPHook代码如下:
#import "HPInject.h"
#import <objc/message.h>

@implementation HPInject

+ (void)load {
method_exchangeImplementations(class_getInstanceMethod(objc_getClass("ViewController"), @selector(btn1Click:)), class_getInstanceMethod(self, @selector(my_click)));

}

- (void)my_click {
NSLog(@"inject Success");

}

@end
编译运行:
AntiHookDemo[1437:149999] find  Hook

AntiHookDemo[1437:149999] click btn1

AntiHookDemo[1437:149999] self Hook Success首先是检测到了Hook,其次自己内部btn2 hook成功了,btn1 hook没有注入成功。到这里暴露给自己用和防止别人Hook都已经成功了。对于三方库中正常使用到的Hook可以在防护代码中做逻辑判断可以加白名单等调用回原来的方法。如果自己的库在image list最后一个那么三方库其实已经Hook完了。
当然只Hook method_exchangeImplementations不能完全防护,还需要Hook class_replaceMethod以及method_setImplementation。
这种防护方式破解很容易,一般不这么处理:
1.在Hopper中可以找到method_exchangeImplementations,直接在MachO中修改这个字符串HookManager中就Hook不到了(这里会直接crash,因为viewDidLoad中调用了exchange_p,对于有保护逻辑的就可以绕过了,并且method_exchangeImplementations没法做混淆)
Hook,或者将fishhook中的一些系统函数Hook也能破解。本质上是不执行防护代码。二、MonkeyDev
MonkeyDev是逆向开发中一个常用的工具 MonkeyDev。能够帮助我们进行重签名和代码注入。
2.1 安装 MonkeyDev
theos安装(Cydia Substrate就是 theos中的工具)
sudo git clone --recursive https://github.com/theos/theos.git /opt/theos配置环境变量
#逆向相关配置

#export THEOS=/opt/theos


#写入环境变量

#export PATH=$THEOS/bin:$PATH运行nic.pl查看theos信息。
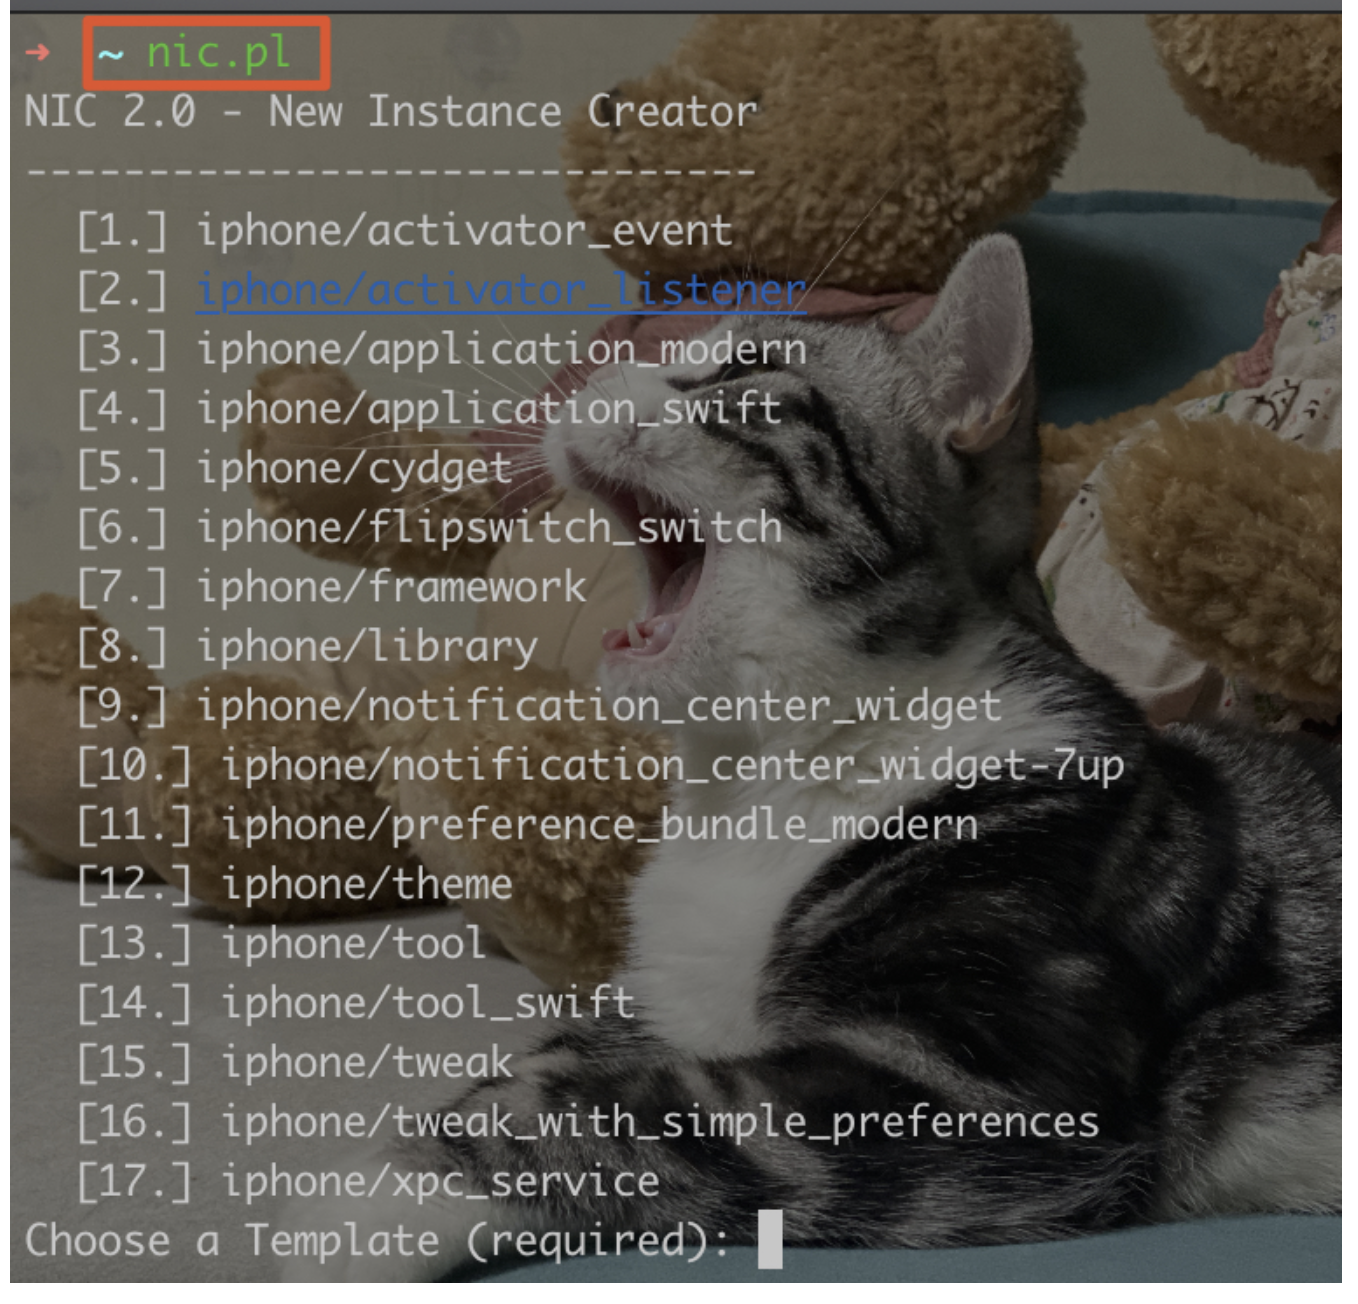
[error] Cowardly refusing to make a project inside $THEOS (/opt/theos/)出现这个错误则是export配置有问题。指定Xcode
sudo xcode-select -s /Applications/Xcode.app安装命令
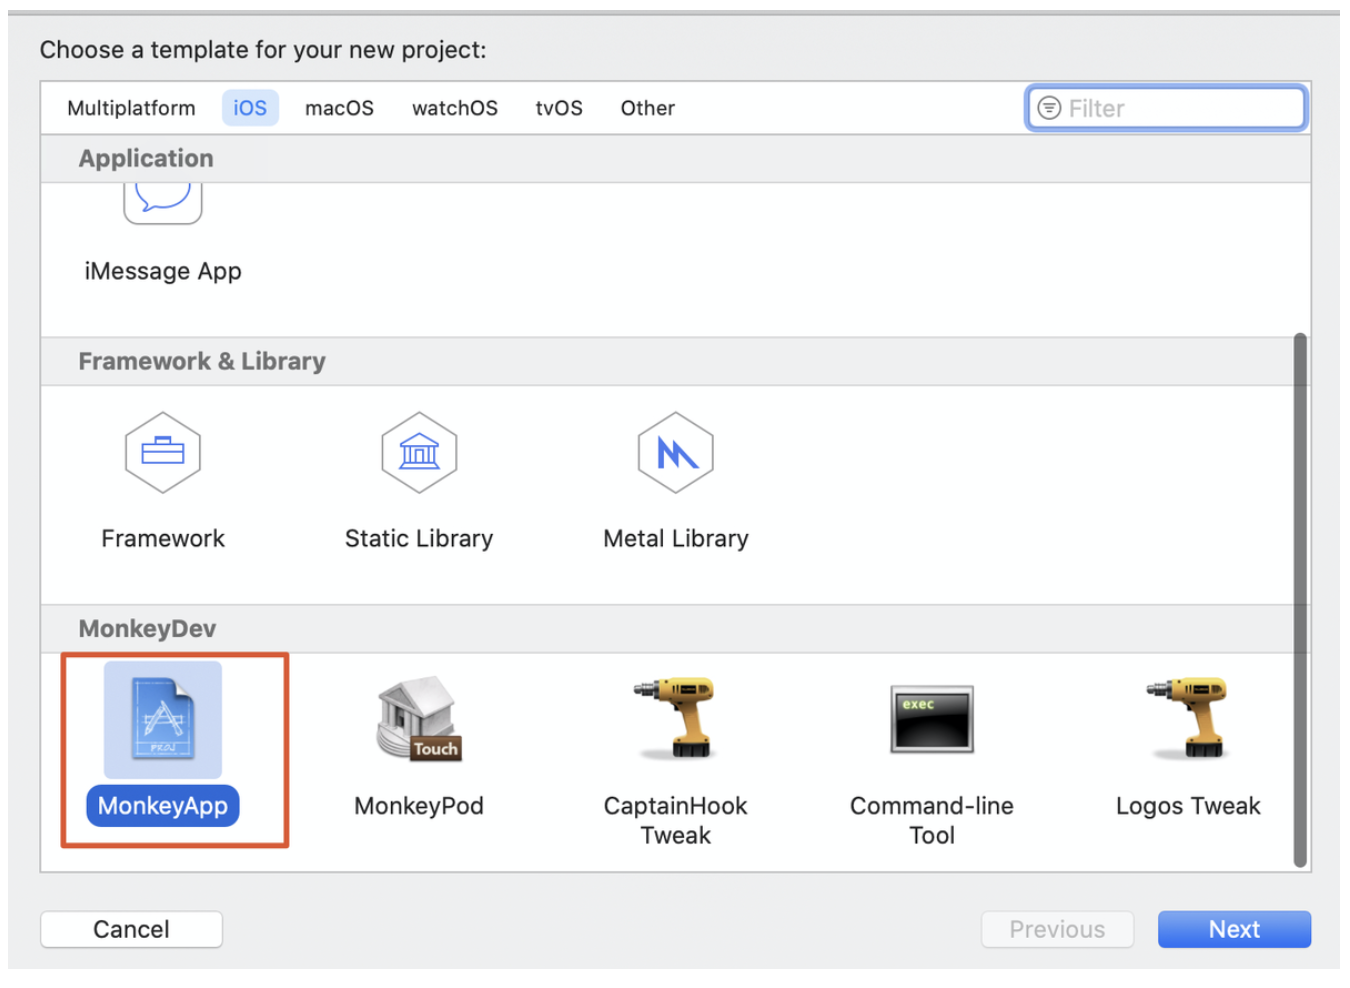
sudo /bin/sh -c "$(curl -fsSL https://raw.githubusercontent.com/AloneMonkey/MonkeyDev/master/bin/md-install)"这里是安装Xcode插件。安装完成后重启Xcode在Xcode中会出现MonkeyDev对应的功能:
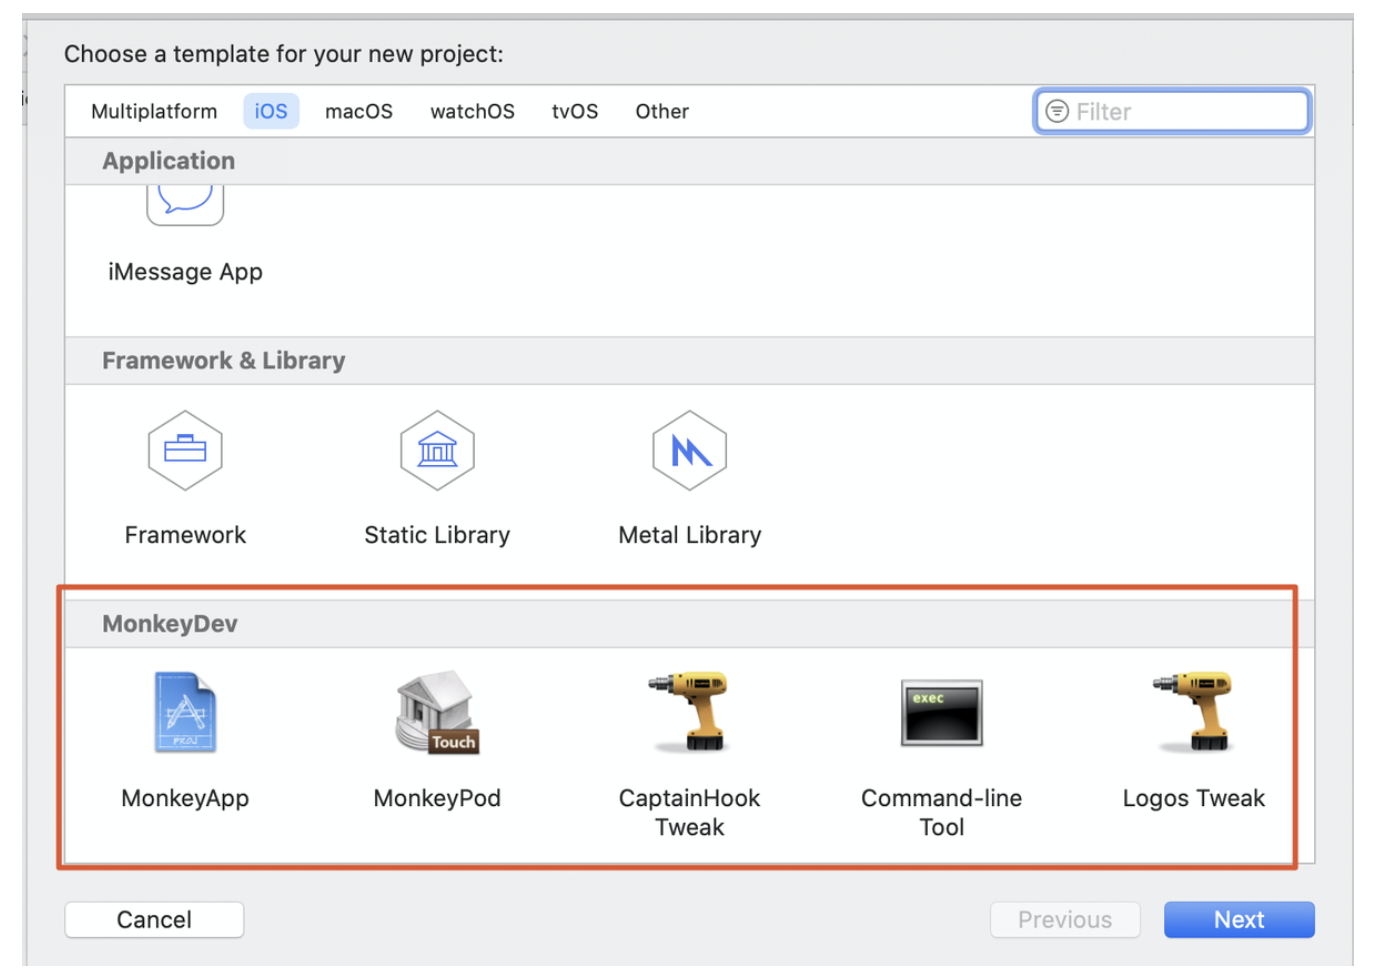
MonkeyApp:自动给第三方应用集成Reveal、Cycript和注入dylib的模块,支持调试dylib和第三方应用,支持Pod给第三放应用集成SDK,只需要准备一个砸壳后的ipa或者app文件即可。MonkeyPod:提供了创建Pod的项目。CaptainHook Tweak:使用CaptainHook提供的头文件进行OC函数的Hook以及属性的获取。Command-line Tool:可以直接创建运行于越狱设备的命令行工具。Logos Tweak:使用theos提供的logify.pl工具将.xm文件转成.mm文件进行编译,集成了CydiaSubstrate,可以使用MSHookMessageEx和MSHookFunction来Hook OC函数和指定地址。
卸载命令
sudo /bin/sh -c "$(curl -fsSL https://raw.githubusercontent.com/AloneMonkey/MonkeyDev/master/bin/md-uninstall)"更新命令
sudo /bin/sh -c "$(curl -fsSL https://raw.githubusercontent.com/AloneMonkey/MonkeyDev/master/bin/md-update)"1.
MonkeyDev 安装出现:Types.xcspec not found添加一个软连接:
sudo ln -s /Applications/Xcode.app/Contents/Developer/Platforms/MacOSX.platform/Developer/Library/Xcode/PrivatePlugIns/IDEOSXSupportCore.ideplugin/Contents/Resources /Applications/Xcode.app/Contents/Developer/Platforms/MacOSX.platform/Developer/Library/Xcode/Specifications2.2 重签名
创建一个MonkeyDemo工程:
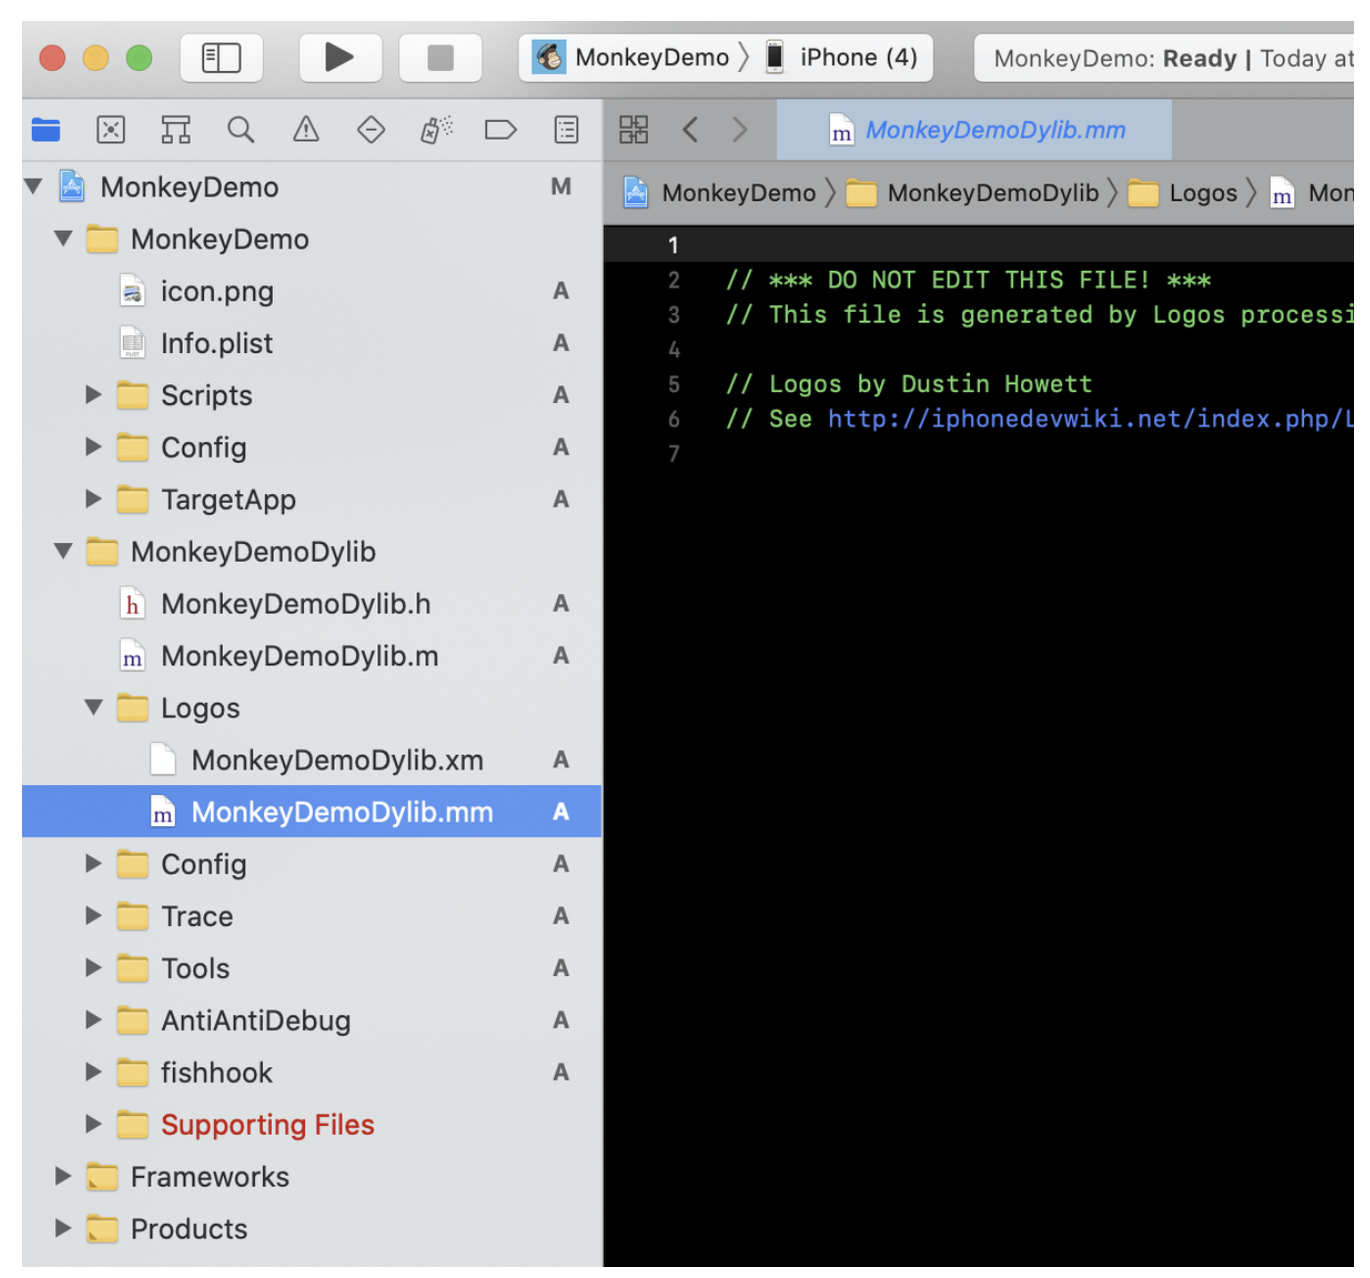
工程目录如下:
在工程目录下有一个TargetApp目录,直接将微信8.0.2版本拖进去:
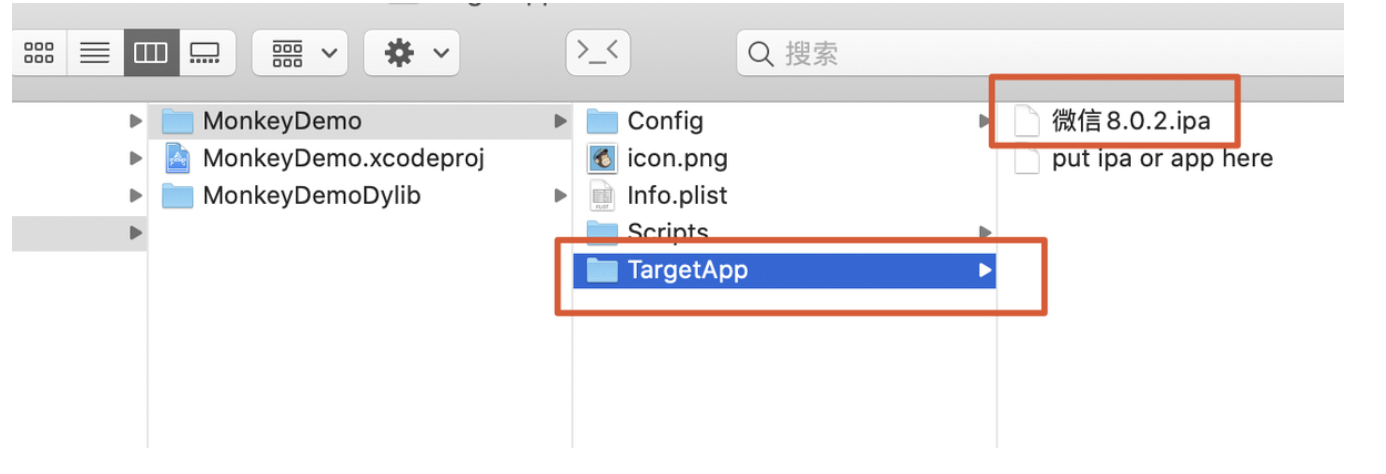
编译运行工程:
这个时候就重签名成功了。相比用脚本自己跑方便很多,也能避免很多异常。
2.3 MonkeyDev 代码注入
工程配置
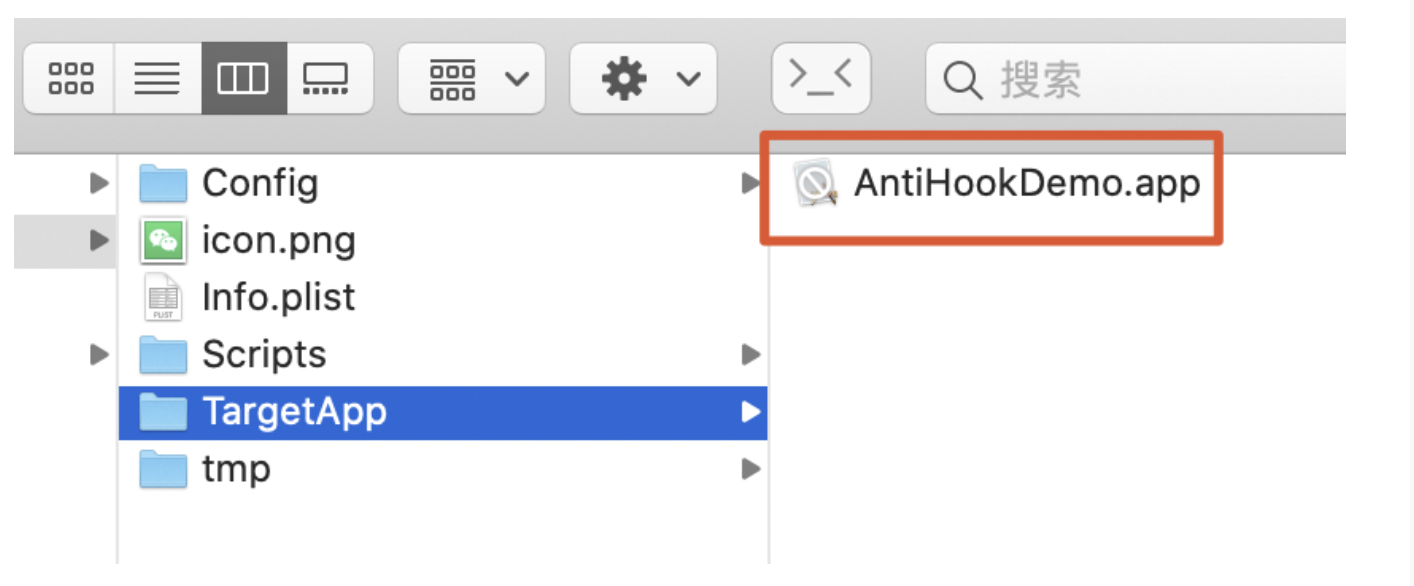
用MonkeyDemo注入一下AntiHookDemo,将AntiHookDemo编译生成的App加入MonkeyDemo的TargetApp中:
代码注入
在MonkeyDemo工程MonkeyDemoDylib->Logos目录,.xm文件可以写OC、C++、C:
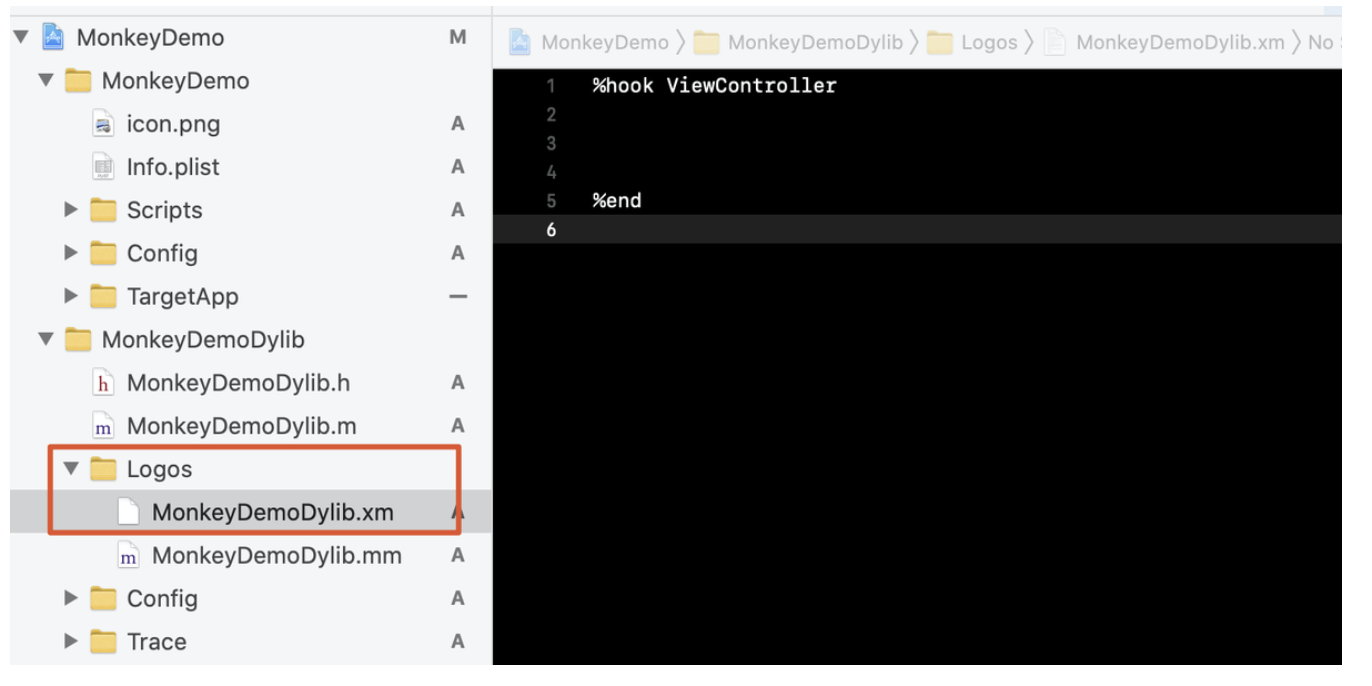
将MonkeyDemoDylib.xm的type改为Objective-C++ Preprocessed Source:
这里面的默认代码就是Logos语法:
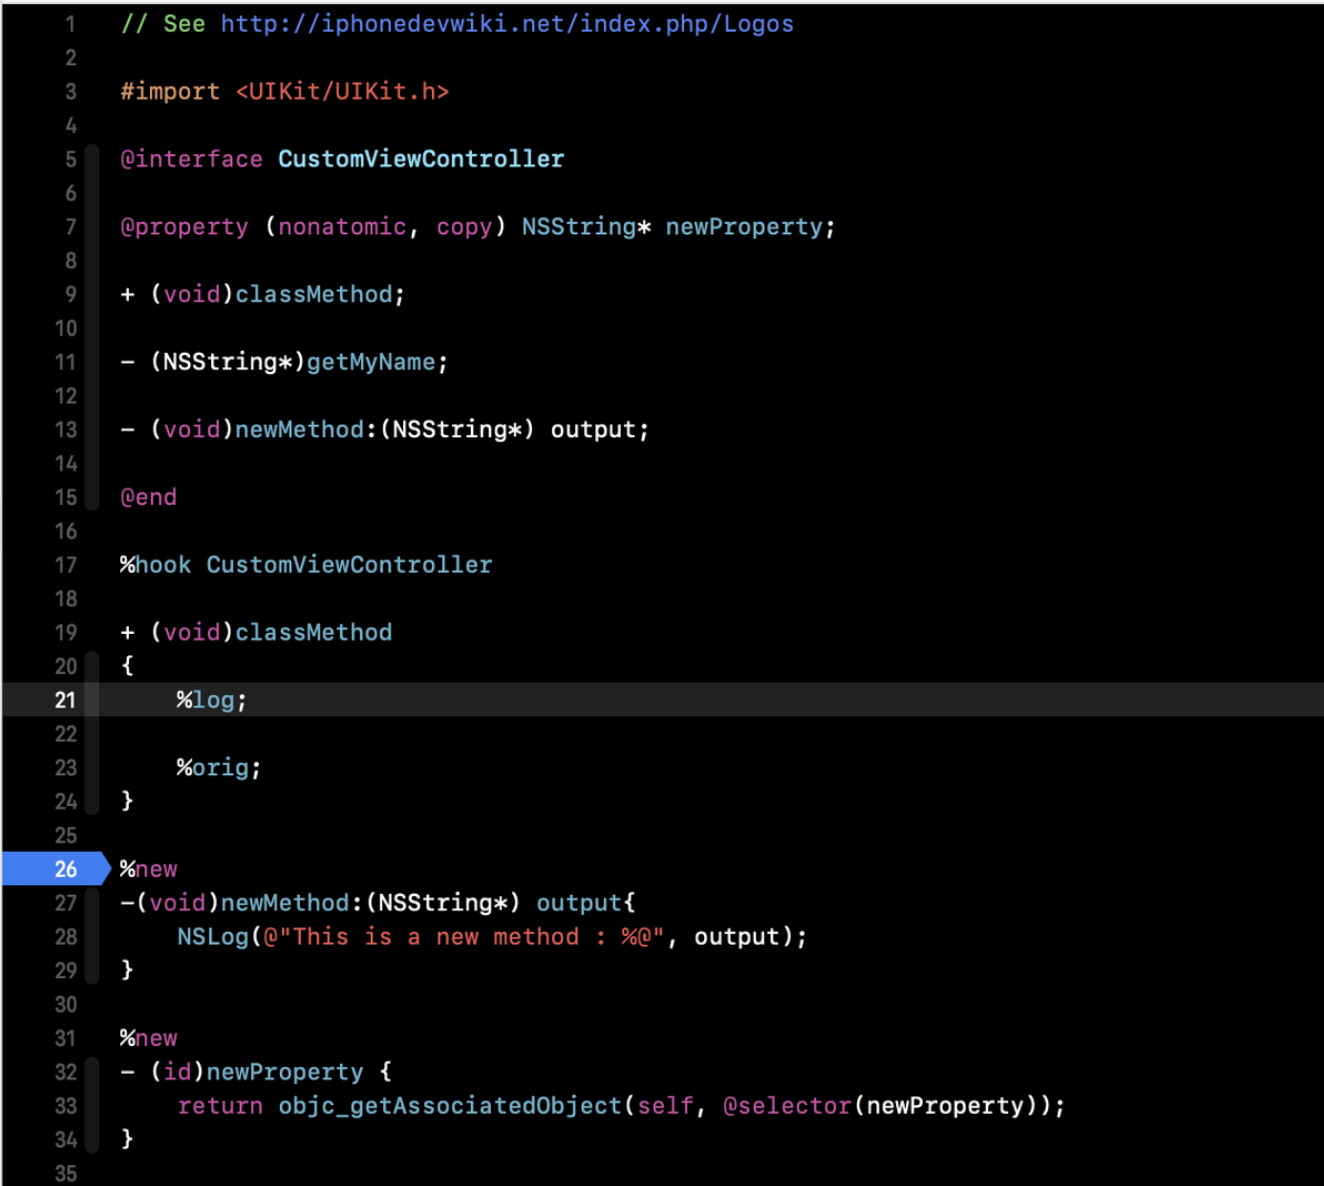
.xm默认打开方式修改为Xcode后重启Xcode就能识别代码了,否则就还是默认文本文件。将默认的代码删除,写Hook btn1Click的代码:#import <UIKit/UIKit.h>
//要hook的类
%hook ViewController
//要hook的方法
- (void)btn1Click:(id)sender {
NSLog(@"Monkey Hook Success");
//调用原来的方法
%orig;
}
%end直接运行工程后点击btn1:
AntiHookDemo[9306:5972601] find  Hook

AntiHookDemo[9306:5972601] find  Hook

AntiHookDemo[9309:5973617] Monkey Hook Success

AntiHookDemo[9350:5987306] click btn1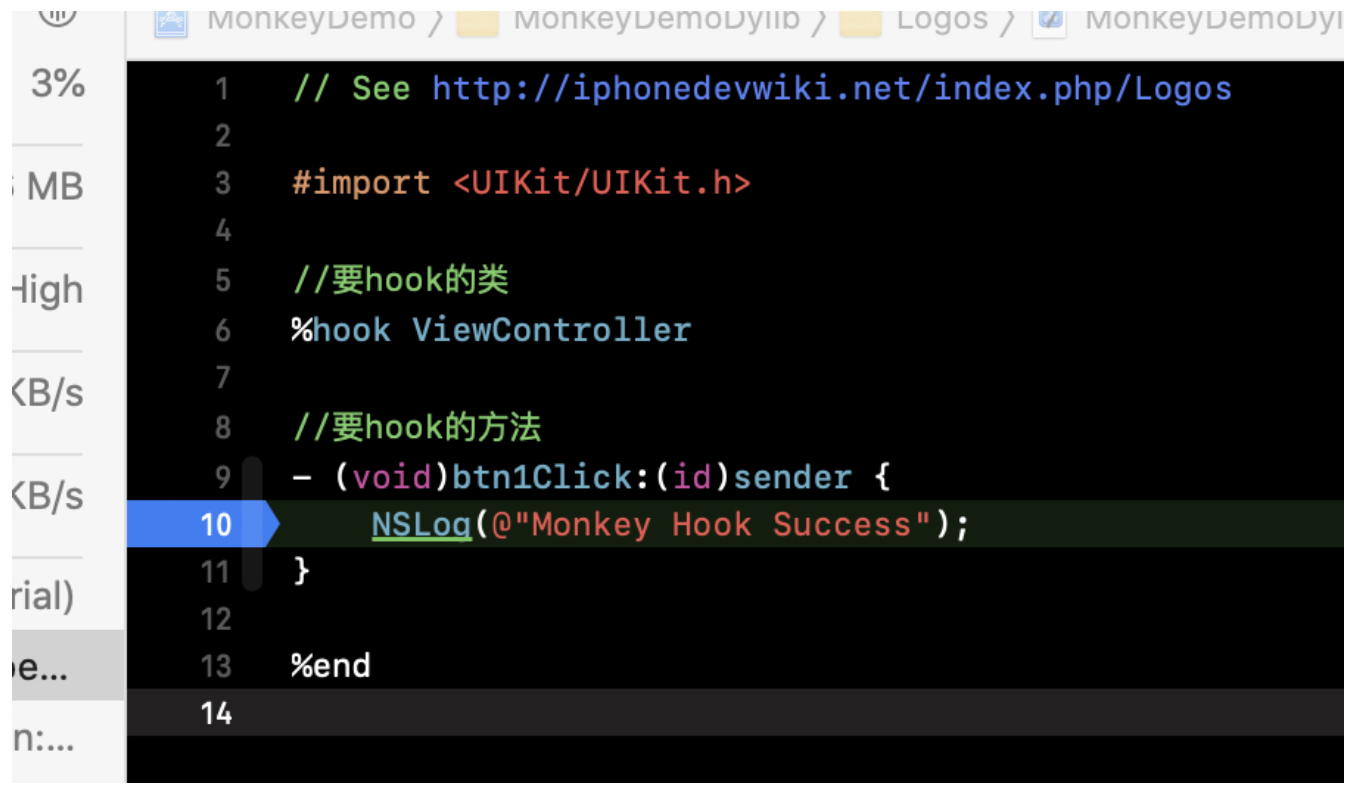
Hook成功了,并且检测到了Hook。这里没有防护住是因为Monkey中用的是getImp和setImp。对
AntiHookManager做下改进:AntiHookManager .h:#import <Foundation/Foundation.h>
#import <objc/message.h>
//暴露给外界使用
CF_EXPORT void (*exchange_p)(Method _Nonnull m1, Method _Nonnull m2);
CF_EXPORT IMP _Nonnull (*getImp_p)(Method _Nonnull m);
CF_EXPORT IMP _Nonnull(*setImp_p)(Method _Nonnull m, IMP _Nonnull imp);
@interface AntiHookManager : NSObject
@endAntiHookManager .m:
#import "AntiHookManager.h"
#import "fishhook.h"

@implementation AntiHookManager

+ (void)load {
//基本防护
struct rebinding exchange;

    exchange.name = "method_exchangeImplementations";

    exchange.replacement = hp_exchange;

    exchange.replaced = (void *)&exchange_p;

struct rebinding setIMP;

    setIMP.name = "method_setImplementation";

    setIMP.replacement = hp_setImp;

    setIMP.replaced = (void *)&setImp_p;


struct rebinding getIMP;

    getIMP.name = "method_getImplementation";

    getIMP.replacement = hp_getImp;

    getIMP.replaced = (void *)&getImp_p;

struct rebinding bds[] = {exchange,setIMP,getIMP};
rebind_symbols(bds, 3);

}


//指回原方法
void (*exchange_p)(Method _Nonnull m1, Method _Nonnull m2);


IMP _Nonnull (*getImp_p)(Method _Nonnull m);


IMP _Nonnull(*setImp_p)(Method _Nonnull m, IMP _Nonnull imp);

void hp_exchange(Method _Nonnull m1, Method _Nonnull m2) {
//可以在这里进行上报后端等操作
NSLog(@"find  Hook");

}

void (hp_getImp)(Method _Nonnull m) {
NSLog(@"find  Hook getImp");

}

void (hp_setImp)(Method _Nonnull m, IMP _Nonnull imp) {
NSLog(@"find  Hook setImp");

}

@end
这个时候控制台输出:
AntiHookDemo[1488:207119] find  Hook getImp

AntiHookDemo[1488:207119] find  Hook

AntiHookDemo[1488:207119] find  Hook getImp

AntiHookDemo[1488:207119] find  Hook

AntiHookDemo[1488:207119] click btn1btn1也没有Hook到了。在这里运行时有可能Crash在JSEvaluateScript的时候,直接删除App重新跑一次就可以了。libsubstrate.dylib解析的,其实这里
.xm文件是被libsubstrate.dylib解析成MonkeyDemoDylib.mm中的内容(.xm代码是不参与编译的):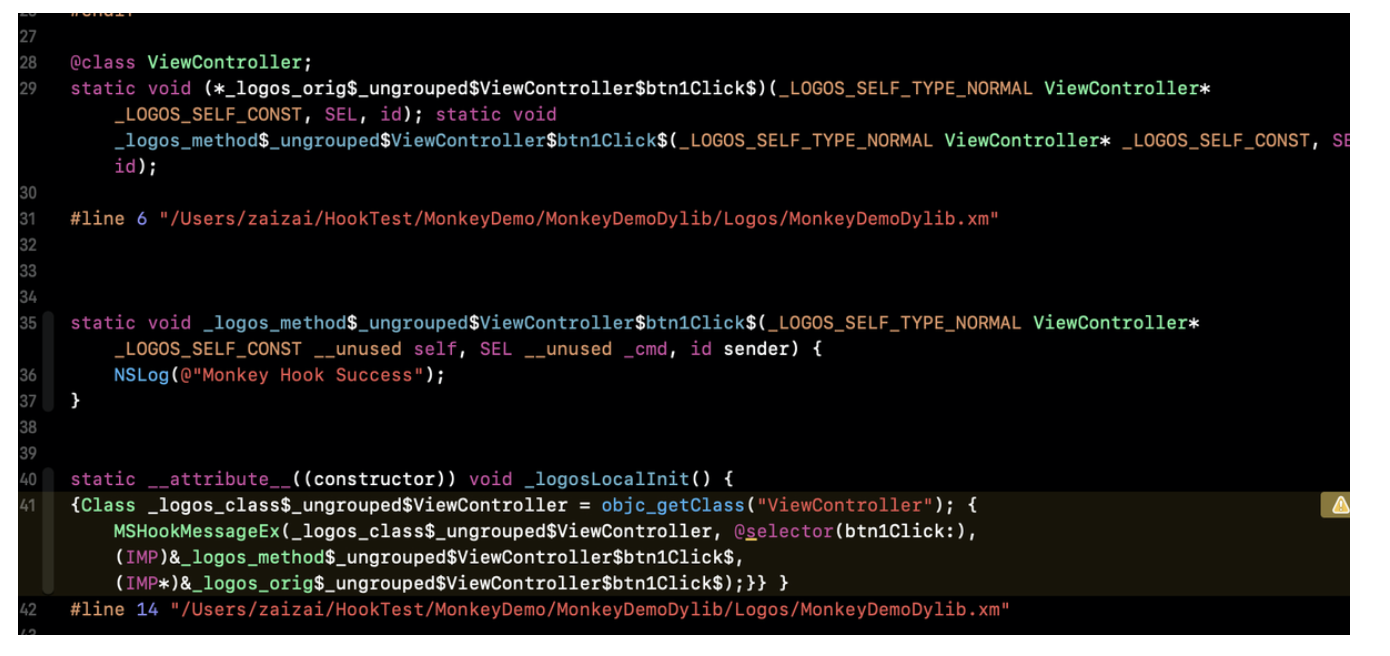
MSHookMessageEx底层用的是setImp和getImp对OC进行Hook的。错误问题
1.Signing for "MonkeyDemoDylib" requires a development team. Select a development team in the Signing & Capabilities editor.
直接在该target的build settings 中添加CODE_SIGNING_ALLOWED=NO

2.Failed to locate Logos Processor. Is Theos installed? If not, see https://github.com/theos/theos/wiki/Inst allation.
出现这个错误一般是theos没有安装好。或者路径配置的有问题。
3.library not found for -libstdc++
需要下载对应的库到XCode目录中。参考:https://github.com/longyoung/libstdc.6.0.9-if-help-you-give-a-star
4.The WatchKit app’s Info.plist must have a WKCompanionAppBundleIdentifier key set to the bundle identifier of the companion app.
删除DerivedData重新运行。
5.This application or a bundle it contains has the same bundle identifier as this application or another bundle that it contains. Bundle identifiers must be unique.
这种情况大概率是手机上之前安装过相同bundleId的App安装不同版本导致,需要删除重新安装。还有问题的话删除DerivedData改bundleId。
6.This app contains a WatchKit app with one or more Siri Intents app extensions that declare IntentsSupported that are not declared in any of the companion app's Siri Intents app extensions. WatchKit Siri Intents extensions' IntentsSupported values must be a subset of the companion app's Siri Intents extensions' IntentsSupported values.
需要删除com.apple.WatchPlaceholder(在/opt/MonkeyDev/Tools目录中修改pack.sh):
rm -rf "${TARGET_APP_PATH}/com.apple.WatchPlaceholder" || true然后删除DerivedData重新运行。
LLVM Profile Error: Failed to write file "default.profraw": Operation not permitted
这个说明App内部做了反调试防护。直接在Monkey中开启sysctl:
rebind_symbols((struct rebinding[1]){{"sysctl", my_sysctl, (void*)&orig_sysctl}},1);Attempted to load Reveal Library twice. Are you trying to load dynamic library with Reveal Framework already linked?直接删除
dylib中Other Linker Flags的设置即可(可能的原因是手机端已经导入了这个库):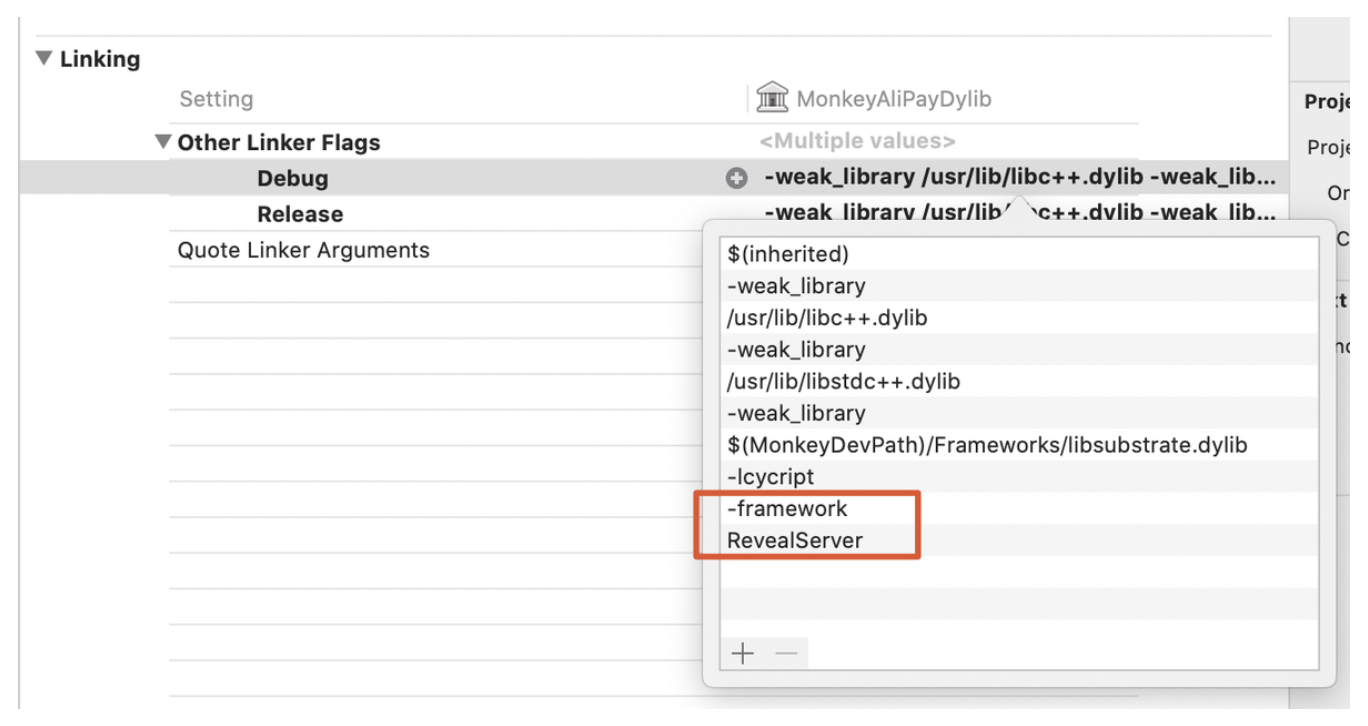
⚠️遇见莫名其妙的错误建议删除DerivedData重启Xcode重新运行。
总结
- 反
Hook- 使用
fishhookHookmethod_exchangeImplementations、class_replaceMethod、method_setImplementation - 需要在动态库中添加防护代码。
- 本地导出原函数
IMP供自己项目使用,配合白名单。 - 这种防护很容易破解,一般不推荐这么使用。
- 使用
MonkeyDev:逆向开发中一个常用的工具。- 重签名:很容易,直接拖进去
.ipa或者.app运行工程就可以了。 - 代码注入:
Logos主要是编写.xm文件。底层依然是getImp和setImp的调用。
- 重签名:很容易,直接拖进去
作者:HotPotCat
链接:https://www.jianshu.com/p/a68890a8fdb2
